Audi A4: Steering Gear End Positions, Adapting
Audi A4 (B9) 2016-2025 Service Manual / Chassis / Steering / Steering Gear / Steering Gear End Positions, Adapting
Special tools and workshop equipment required
- Vehicle Diagnostic Tester
 Note
Note
If the connection between the steering gear and the steering wheel is disconnected, the end position of the steering gear must be readapted.
Procedure
- Connect the Vehicle Diagnostic Tester.
- Switch the ignition on.
- Select and start the Diagnostic operating mode.
- Select the Test plan tab.
- Select the Select individual test button and select the following tree structure consecutively:
- Chassis
- Steering
- 01 - OBD-capable systems
- 44 - Power Steering Control Module J500
- 44 - Power Steering Control Module Functions
- 44 - End Position, Adapting
- Start the selected program and follow the instructions on the Vehicle Diagnostic Tester display.
Special Tools
Special tools and workshop equipment required
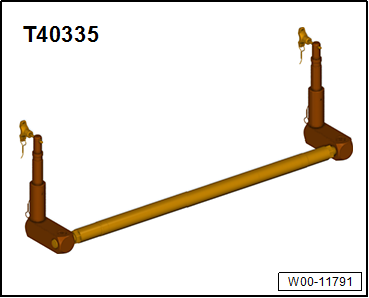
- Support Brace -T40335-
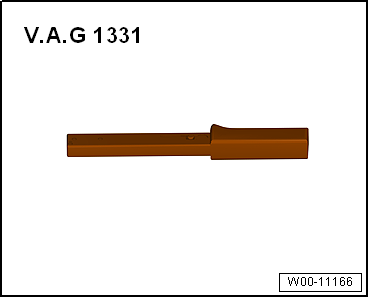
- Torque Wrench 1331 5-50Nm -VAG1331-
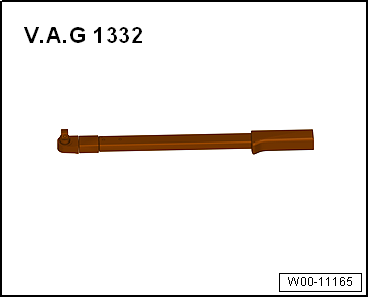
- Torque Wrench 1332 40-200Nm -VAG1332-
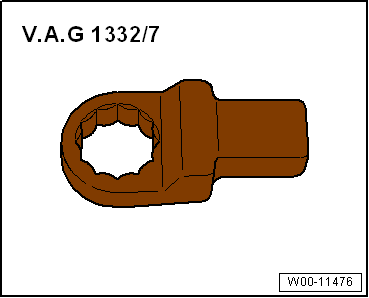
- Torque Wrench 1332 Insert - Ring Wrench - 21mm -VAG1332/7-
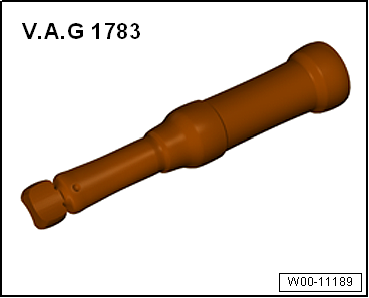
- Torque Wrench 1783 - 2-10Nm -VAG1783-
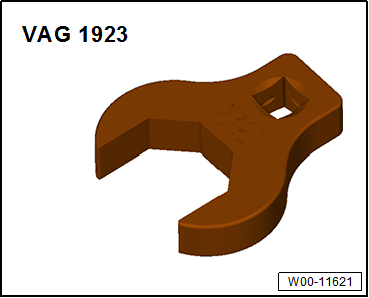
- Torque Wrench Insert - Open Jaw -VAG1923-
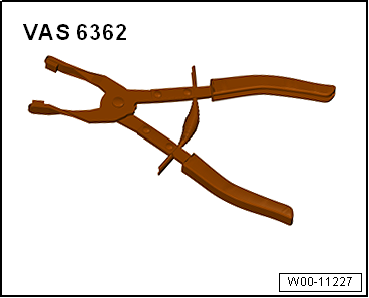
- Hose Clip Pliers -VAS6362-
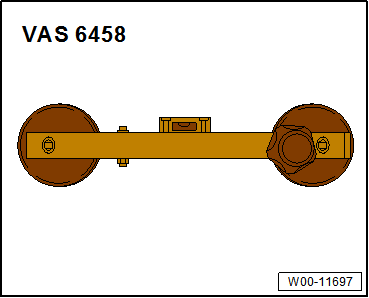
- Steering Wheel Scales -VAS6458-
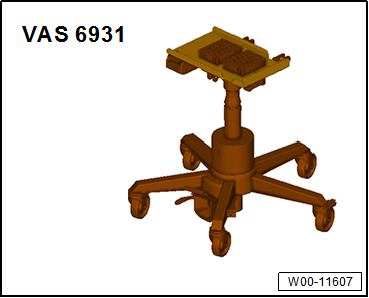
- Engine and Gearbox Jack -VAS6931-
- Not illustrated:
- Support Brace -T40335-
- Ball Joint Splitter -VAS251805-
- Bolt Extractor Set -VAS5514-
- Protector Set -VAS871009-
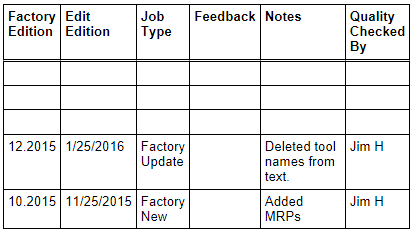
Revision History
DRUCK NUMBER: A005A014721
READ NEXT:
SEE MORE:
 Luggage compartment
lid
Luggage compartment
lid
General information
WARNING
Applies to: vehicles with anti-theft alarm
system: When the vehicle is locked from the
outside, no one, especially children, should
remain in the vehicle, because the windows
can no longer open from the inside. Locked doors make it more difficult
for emergency work
Wheel Bearing Unit, Removing and Installing
Wheel Bearing Unit, Removing and Installing, FWD
Special tools and workshop equipment required
Puller - Grease Cap -VW637/2-
Camshaft Installer Kit - Sleeve -3241/4- from the Seal
Installer - Camshaft Installer Kit -3241-
Torque Wrench 1332 40-200Nm -VAG1332-
Torque Wrench 1410 -VAG1410-
&n
© 2019-2025 Copyright www.audia4b9.com
